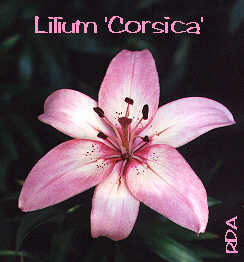
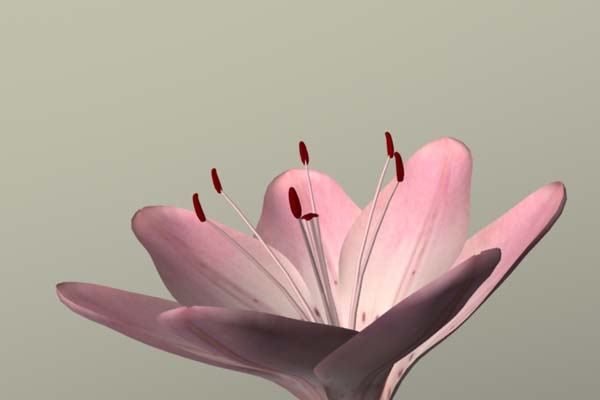
Lilium asiaticum 'Corsica'
| Ordinarily a surface that is texture mapped is assigned a single image and as such the image map can be seen on both the inside and the outside of the surface. The purpose of this assignment is to write two RenderMan shaders that apply two image maps to a surface - one to the "outside", and the other to the "inside" of a surface. There are three parts to this completion exercise: The first part involves obtaining reference
images, scans or digital photographs, of the two sides of a petal
of a flower. Texture maps will be based on these two reference
images. There are three parameters that must be used within each of the shaders. float(kd) - this allows for the surface
to respond to diffuse lighting. Two other parameters will be used within
one or the other shaders: |
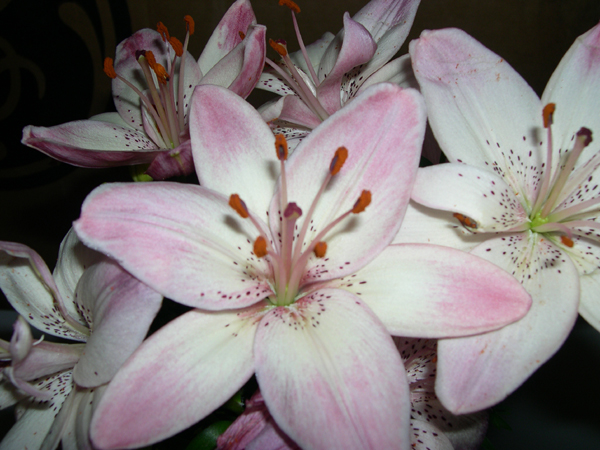
| With that all said.... I have picked a Asiatic Lily (Lilium asiaticum 'Corsica') for this project. As you can see from the pictures below, there is differentiating patterns on either side which in turn will lend for the assignment to hopefully be seen. The first picture is of stock footage that I found on the internet, the second is of the actual plant that I found at a nursery here in town.
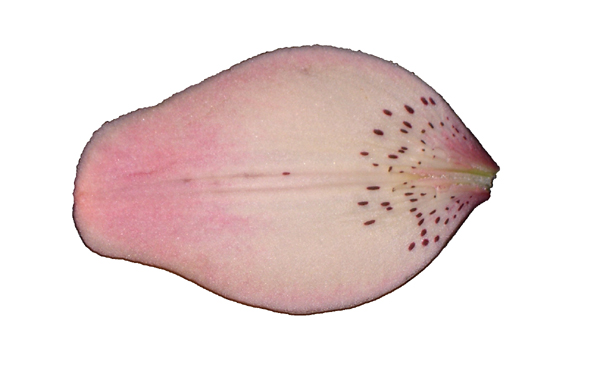
To be able to get a good texture for both the inside and outside of the petal, I resorted to removing one of the petals from a flower and taking a high res digital photograph of each side. I then took the photos into Photoshop and created a viable texture map for each. The pictures below show the final image for both the inside and outside textures. The first picture is of the inside (top) of the petal the second is of the outside (bottom).
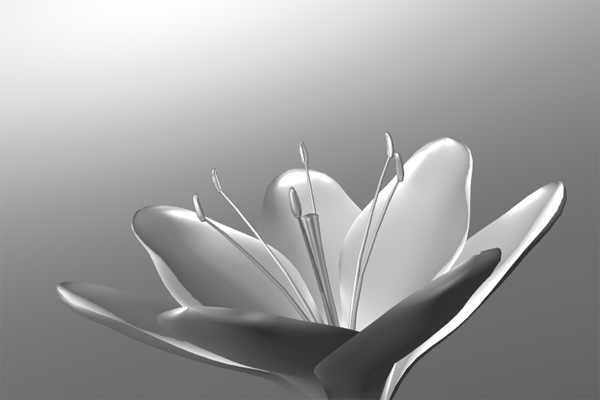
Since I have texture maps, I turn to Houdini to create a a model which to apply the textures. I decided to use Houdini for this assignment to get more familar with the use of Houdini with RSL shaders. I will not explain how I modeled the flower, but this is an image of the flower model without any shaders applied.
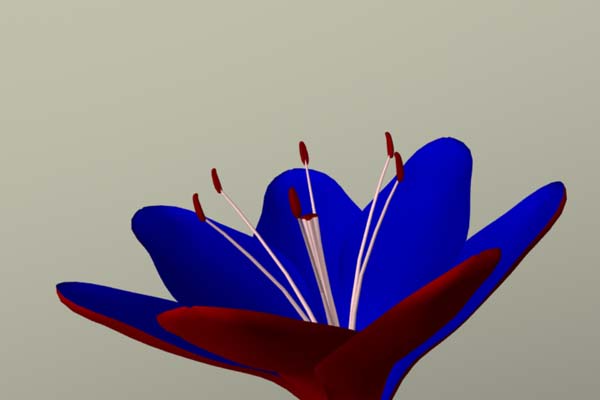
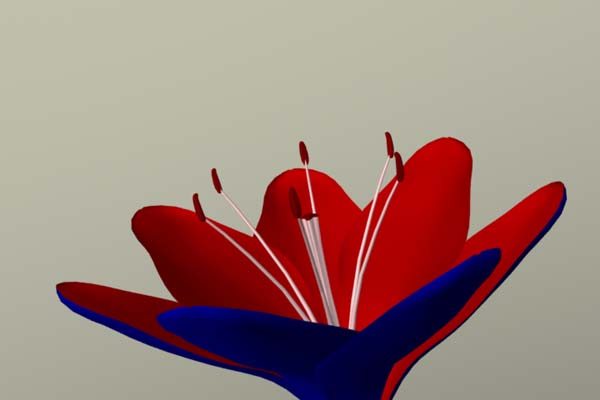
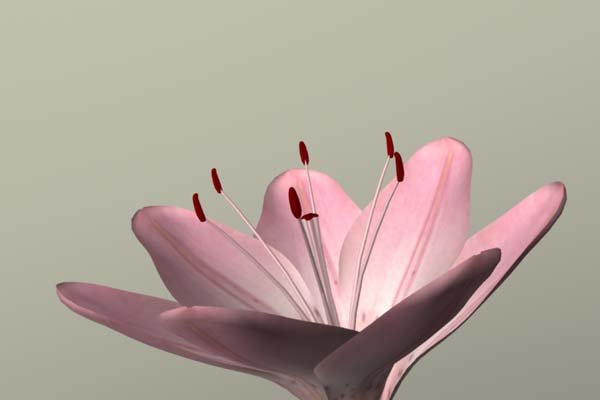
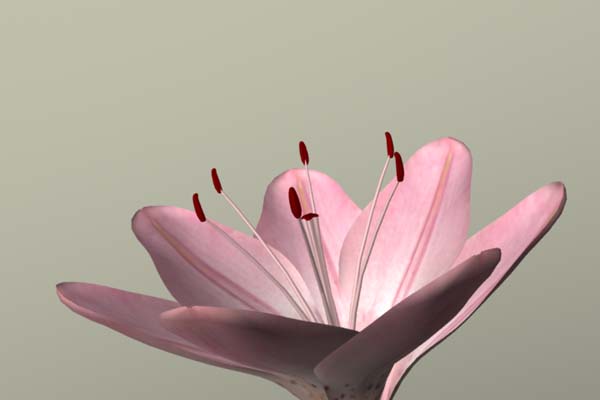
Now that I have the texture maps and a working flower model, I started with the swap parameter. First I needed to set up the shader to understand which texture map to apply. By using (n == nf), I am able to control which texture is being displayed on the outside of the object. The swap then allows for the texture maps to be "swapped" to the other side. I have set up a test for the shader using solid colors to show how the shader works. Once compiled into an .otl file, I imported the shader into Houdini. Below are the images rendered with the shader applied.
The first image shows the swap parameter at default (swap = 0). Since swap is either on or off (swap = 0, or swap = 1), the second image show the textures reverse when swap = 1. Once the texture are inserted into the shader for the color we get the resulting images.
I have embedded full size images to have a better view of the "swap".
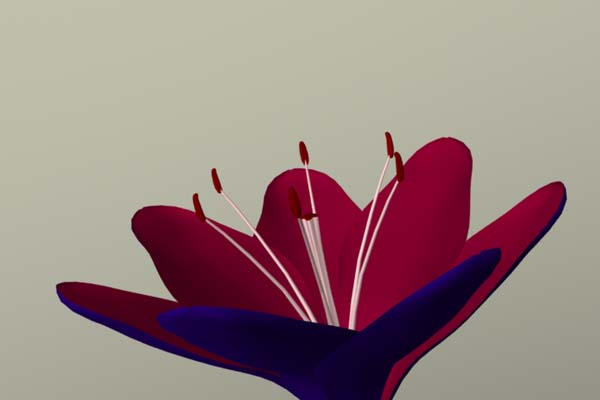
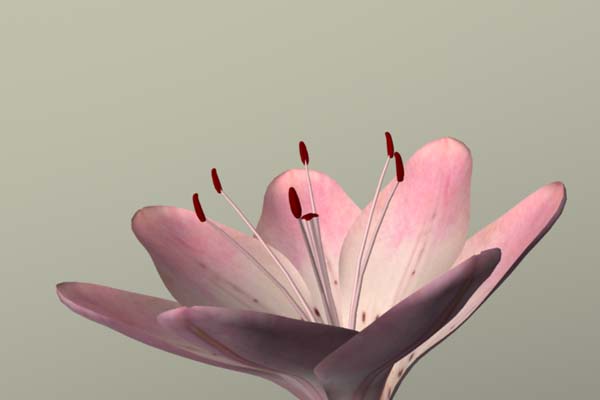
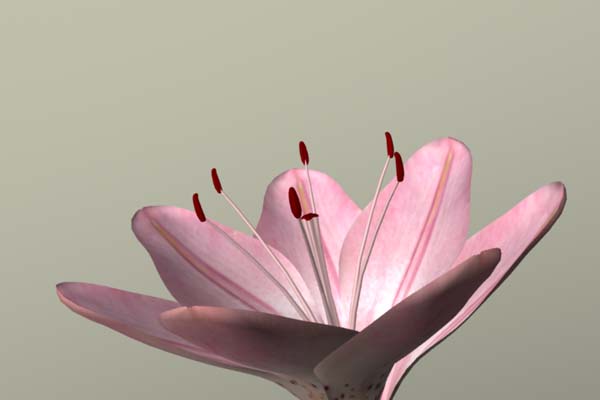
The use of the blend parameter with the function MIX within the shader. I am able to blend between two textures. Once again, to show how the blend parameter works I set up a test shader using color to better visually show what is happing when the parameter is changed. Below are the images with the shader applied. Default setting for blend is 0. Again, once compiled into an .otl file, the shader was imported into Houdini.
The change in coloring shows that the blend is working and at 25% and 75% they are same colors but they are on opposite sides. Once again this then lends to the resulting images when the textures are used in place of the colors.
Eventhough it is more difficult to see, the difference between blend = 0 and blend = 1. This assignment allowed me get back into writing basic RSL shaders, which I had done somewhat before. I definately found it to be more seemless that I thought it would be using Houdini. Once I had the understanding of using (n == nf) to state within the shader which texture to apply to which side, I was then able to use both the swap and blend parameters to get the correct look we were supose to achieve. Here at the end I have included links to a screen shot of the Houdini user interface showing the use of both the swap and blend parameters.
|