Lilium asiaticum 'Corsica'
| This project is an extension of the inside-outside texturing assignment. Like that assignment this project attempts to apply different effects to the front and rear facing segments of a surface. We are going to re-use the flower model that was textured in the first porject. However, for this project you will write a displacement shader that will differentially displace the inside and outside of the flower. The displacement applied to one side of a surface may be based on image embossing. For the other side, however, your displacement must be purely procedural ie. not based on reading a texture map. |
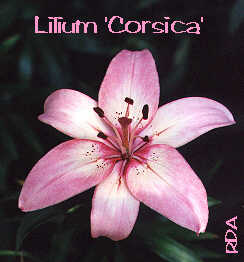
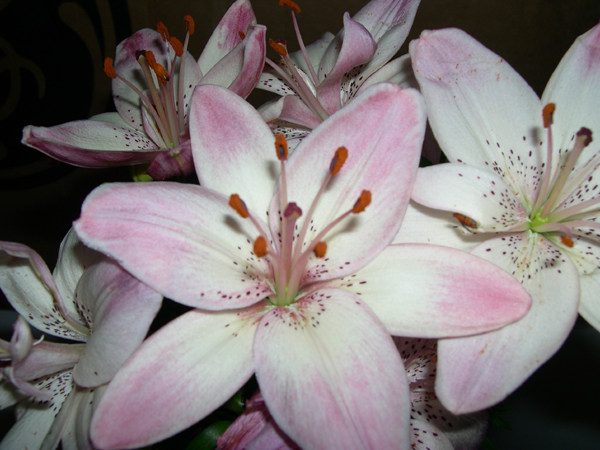
| And once again..... This just reiterates the research information from the inside-outside texture page. I have decided to include it here to keep this page consolidated. I have picked a Asiatic Lily (Lilium asiaticum 'Corsica') for this project. As you can see from the pictures below, there is differentiating patterns on either side which in turn will lend for the assignment to hopefully be seen. The first picture is of stock footage that I found on the internet, the second is of the actual plant that I found at a nursery here in town.
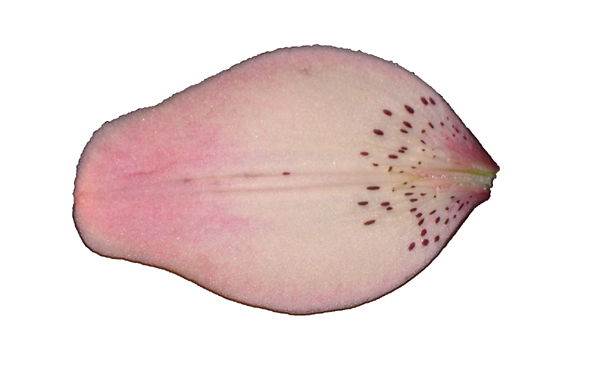
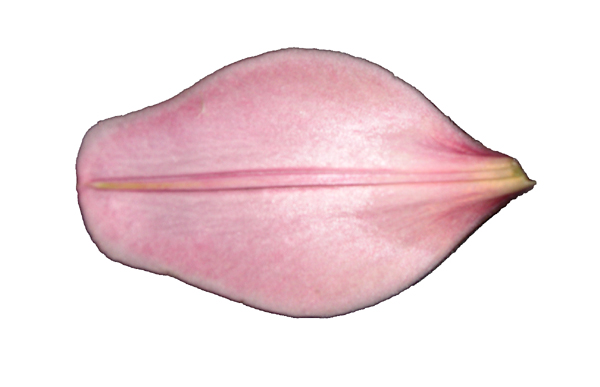
To be able to get a good texture for both the inside and outside of the petal, I resorted to removing one of the petals from a flower and taking a high res digital photograph of each side. I then took the photos into Photoshop and created a viable texture map for each. The pictures below show the final image for both the inside and outside textures. The first picture is of the inside (top) of the petal the second is of the outside (bottom).
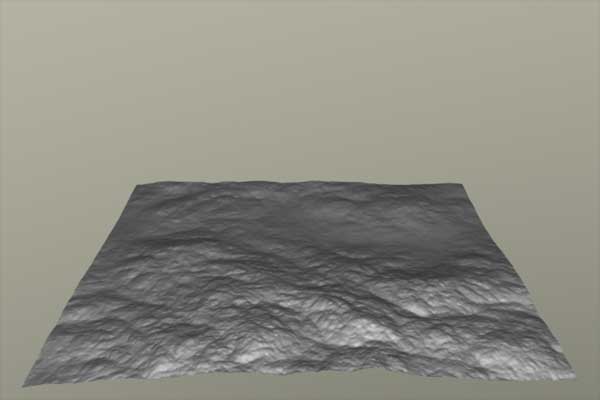
With this in hand.... I turned to writing a displacement shader that would displace the polygonal object according to its normal alignment. As with the first project this displacement shader is based on (n==nf). This is where the true normal or original normal information is check against the normal face towards the camera or the facefoward direction. With (n==nf), we are checking to see if the faceforward normal is in the same direction as the original normal. If the statement is true, we know that we are dealing with the "outside" of the polygonal object. For the actual displacement, I decided not to use a image map for one of the sides, but instead used two procedural displacements. The first displacement, which will be used on the outside of the petal, I will be using a displacement based on a basic octave noise generation. Which is basically a fractional Brownian motion equation. I will be talking about fBm in my independant reseach section of this website. The other displacement, which will be the inside, I have decided to go with a basic noise frequency displacement to get a subtle undulating look. Below are the rendered images of both displacements on a single polygon.
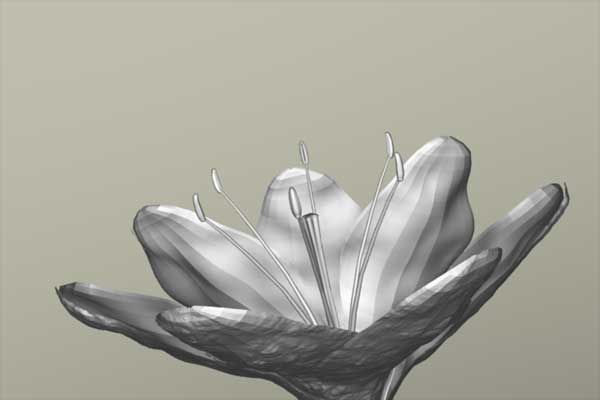
Now that I have the procedural displacement maps, I started with the "swap" surface shader that was written in the first project. Since this is also based off of (n == nf), I am able to control which displacement is being displayed on the outside of the object. Then, if needed, I can "swap" the displacement maps from one side to the other. I have set up the original flower model from the first project to show the displacement without any surface shaders applied. I have utilized the "swap" control to show that it does work with the displacement shader.
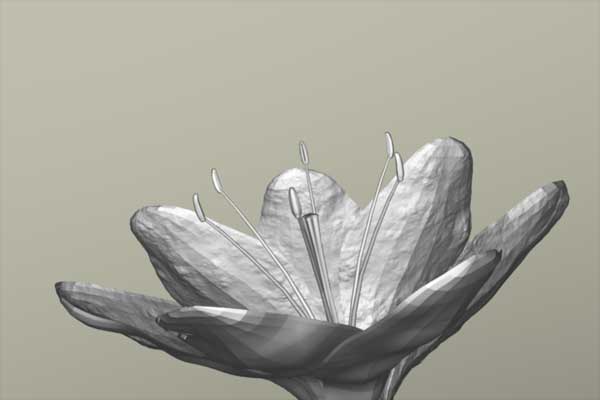
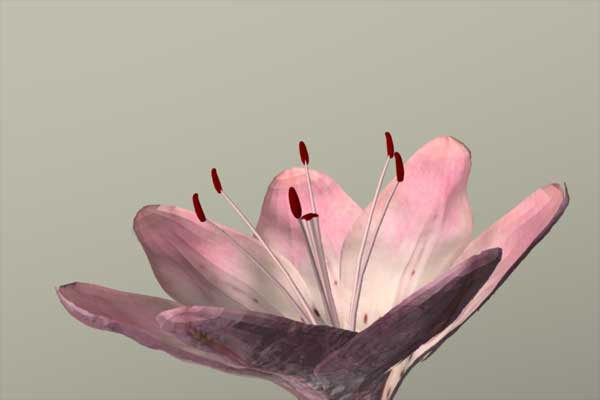
Once again, the first image shows the swap parameter at default (swap = 0). Since swap is either on or off (swap = 0, or swap = 1), the second image shows the displacement maps in reverse when swap = 1. Once the texture maps are applied to the surface we get the corresponding images.
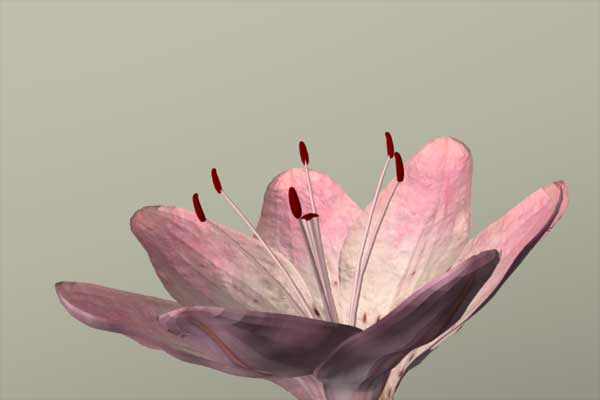
As you can see from the images the rendered model now has the variation of the texture as well as the displacement. It definately gives a more realistic look to the model. A couple of areas that were giving problems was when the displacement was applied to the surface it would "polyonalize" the surface. In both of the images you can see small squares on the surface. I thought that it was from the displacement "tiling" but even with moving the displacement size around it would not change. The other area of problem is the edges of the petals. It seems to give the look that the petal is "ripped". Since I liked this, I left it as is. But in the future this would need to be address click for displacement shader code
|